


Google Pixel 3a Screen Replacement

Send this link via e-mail
|
Tweet |
|
Step 1 - Warm Up The Glue
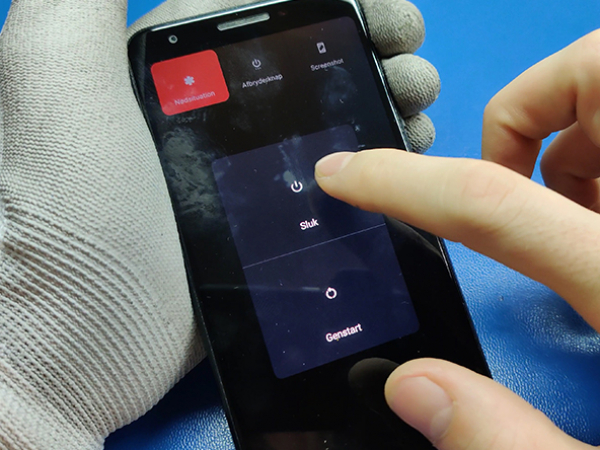
Turn off your Google Pixel device.
We are using a special hot plate machine for about 2-3 minutes at 100°C.
Phone goes screen-down on the hot plate.
You can use a heat gun or a hairdryer also from the screen side of the phone.
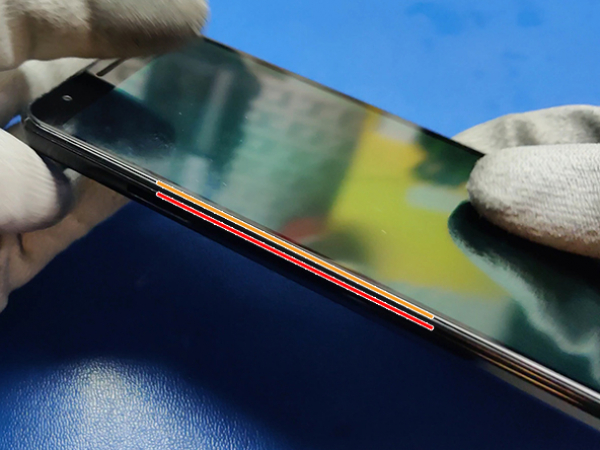


Step 2 - Cutting Through The Glue
Back to top
Before you start prying, be aware of the following areas on the screen:
Screen flex cable
Adhesive perimeter
Do not pry too deep or you risk damaging the flex cable.
Insert the thin metal opening tool (a.k.a. the iFlex) at the screen seam.
Avoid inserting the iFlex beyond the adhesive perimeter to avoid damaging the display panel.
Note:
You should distinguish the two seams on the phone:
Screen seam, which separates the screen from the rest of the phone.
Frame seam, where the plastic frame meets the back cover.
DO NOT pry at the frame seam.
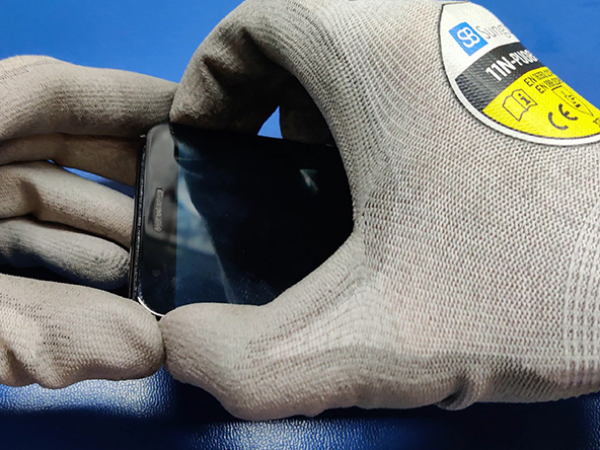


Step 3 - Removing The Screen
Back to top
After all the adhesive has been cut, carefully hinge open the top edge of the screen.
Do not remove the screen yet, it is still attached to the phone by a flex cable.
Flip the attached screen and rest it on top of the phone.
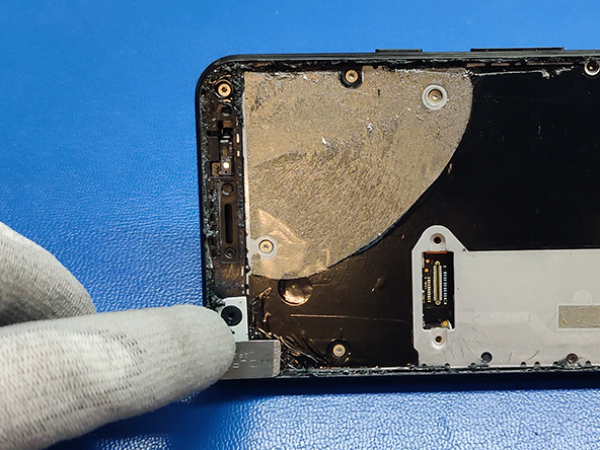
If present, peel the black tape covering the screen connector bracket.
Remove 2x 4.4mm T3 screws securing the screen connector bracket.
Remove the metal bracket.
Use the spudger to pry up and disconnect the LCD flex cable.
Now you can remove the screen.
Note:
Be careful not to dislodge and damage the tiny surface-mounted components arround the socket.
To re-connect this type of press-connectors, carefully align and press down on one side until it clicks into place
Then repeat on the other side.
Do not press down on the middle.
If the connector is misaligned, the pins can bend, and cause a permanent damage.


Step 4 - The New VS The Old Screen
Back to top
Clean up the glue residue form the phone frame.
Compare the replacement screen with the original one you just removed.
You may need to transfer some components to the new part.
In this case we are transfering only the speaker mesh.
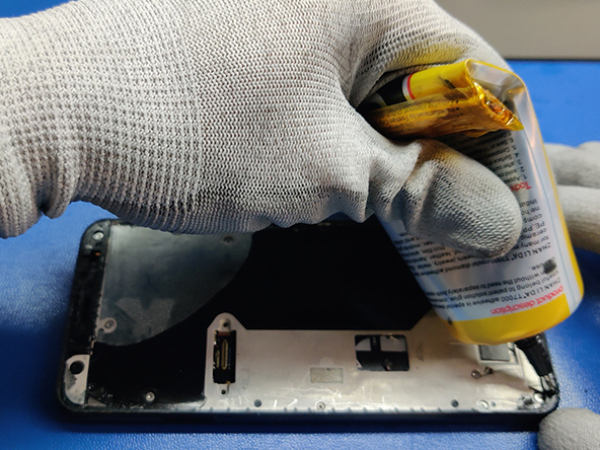


Step 5 - Installing The New Screen
Back to top
You can use precut adhesive strips or T-7000 black sealent glue like we did.
Apply a thin strand of glue all around the frame.
Now, connect the LCD flex cable of the new screen.
Insert the metal bracket and install two 4.4mm T3 screws.
Now you can set down the screen.
Top edge first, then the bottom edge.
Press with your fingers arround the perimeter of the screen.
The screen needs to be clamped for atl least 24 hours.
The cure time of the glue is 48h.
And the repair is done.