


Samsung Galaxy S6 Battery Replacement

Send this link via e-mail
|
Tweet |
|

Step 1 - Before You Start
Before you start with the repair, discharge the battery below 25%.
A charged Li-Ion battery can catch fire and explode if punctured.
Caution: If the battery is swollen, take adequate measures and precautions.
Do not heat your phone. You can use isopropyl alcohol around the edges of the back cover to weaken the adhesive.
Wear eye and hand protection when working with swollen batteries.


Step 2 - Removing The SIM-Tray
Back to top
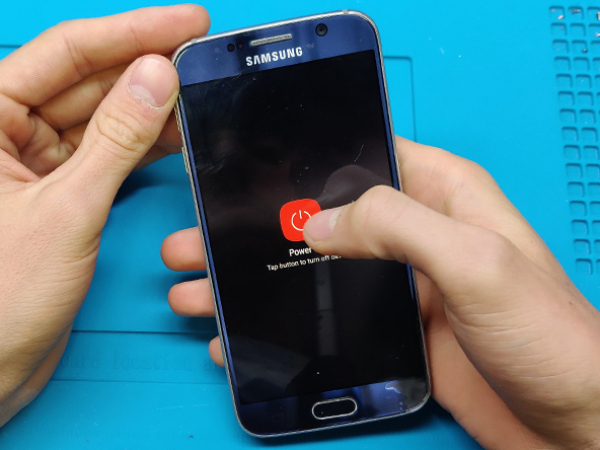
Turn off your device.
Remove the SIM-tray
You can use a simple paper clip if you don't own a SIM eject tool.


Step 3 - Heating The Glue
Back to top
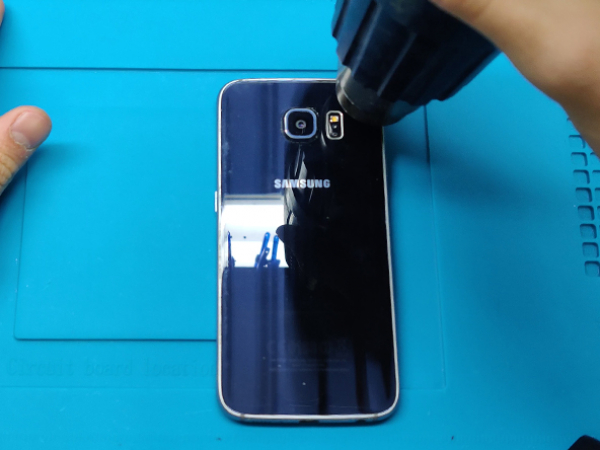
Once you are sure the battery isn't swallen you will start applying the heat around the edges of the back glass cover.
You can use a heat gun, hot plate or a simple hair dryer.
When the back glass is relatively hot to the touch you can proceed with the next step.


Step 4 - Removing The Back Glass I
Back to top
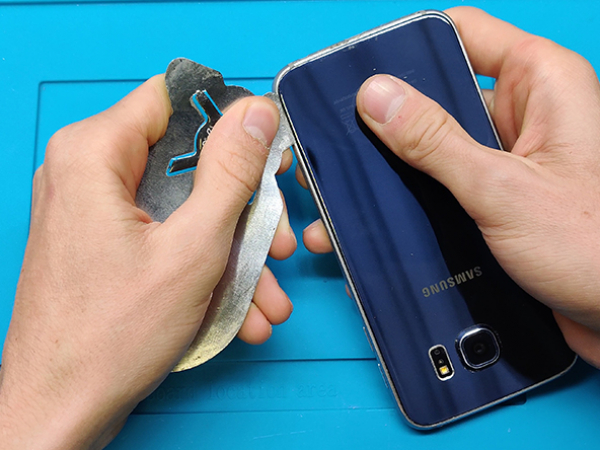
Slide the opening pick or the thin metal opening tool between the glass and the metal frame.
Start from the bottom edge of the glass.
Note: You can use a suction cup to help you create a small gap underneath the rear glass.
Optionally, once the opening tool is inserted, you can add a few drops of isopropyl alcohol into the gap to help weaken the adhesive.


Step 5 - Removing The Back Glass II
Back to top
Slide the opening tool along the edges of the phone to slice through the adhesive.
You may need to re-heat the rear glass a couple of times to prevent the glue from cooling and hardening.
This phone does not have any flat cables and connections under the glass, so you don't have to be too worried when slicing through the glue.
Afterwards, the back glass should come off easy.
Clean all the glue residue from the metal frame.


Step 6 - Midframe Assembly
Back to top
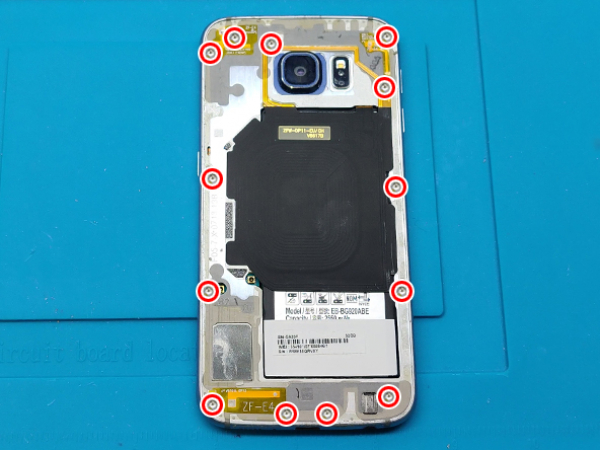
Remove the thirteen 3.5mm Phillips #00 screws.
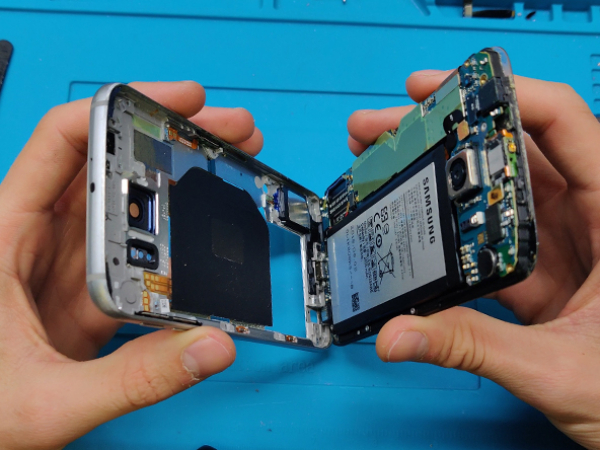
Separate the midframe assembly from the rest of the phone.
While lifting the midframe, be careful not to damage the audio jack or charging port.
You may need to heat the edges of the display to soften the display adhesive if the midframe separation is difficult.


Step 7 - Removing The Old Battery
Back to top
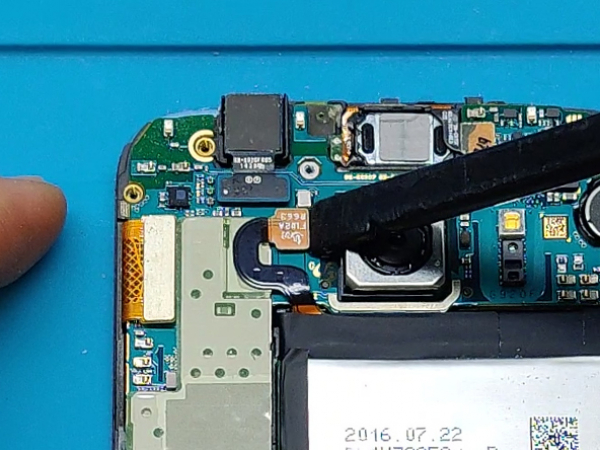
Use the flat end of the spudger to disconnect the battery connector from its socket on the motherboard.
Gently pry-up the battery.
Pay attention not to puncture or deform the battery in the process.
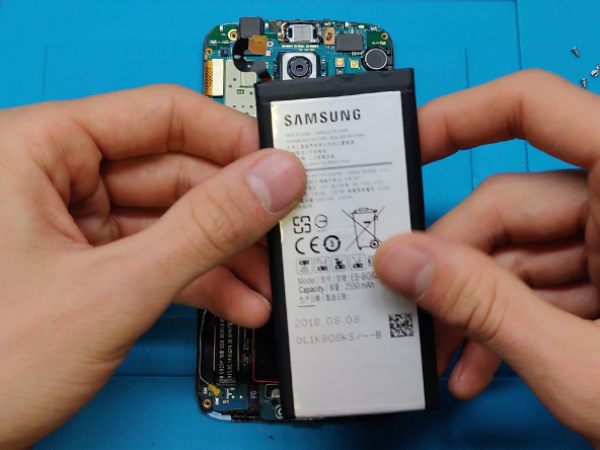
Remove the battery from the phone.


Step 8 - Installing The New Battery
Back to top
Connect the new battery to the motherboard.
Turn on the device to make sure everything works as intended.
If so disconnect the battery connector again before proceeding.
Remove the battery.
Use 2 strips of doublesided self-adhesive tape to secure the battery.
Place the battery on the assembly and press gently with your fingers.
Reconnect the battery one final time.


Step 9 - Reinstalling The Middle Frame
Back to top
At this point you should bring the middle metal frame and the rest of the phone back together.
Reverse the process of separating the two.
This time start from the bottom.
Afterwards, put back all the 13 previously removed screws.


Step 10 - Reinstalling The Back Cover I
Back to top
It is time to reseal the phone with the back glass.
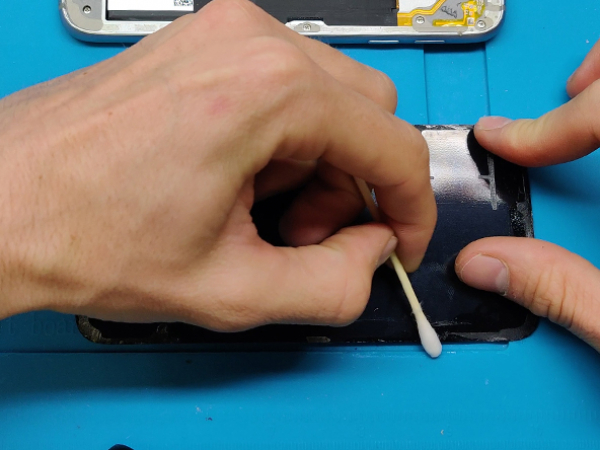
Clean up the old glue from the glass cover with tweezers.
Use isopropyl alcohol if needed.
To secure the back glass to the frame use double-sided self adhesive tape.
Lay strips of the tape all around the edges of the metal frame.
Remove the top protective layer from the tape.


Step 11 - Reinstalling The Back Cover II
Back to top
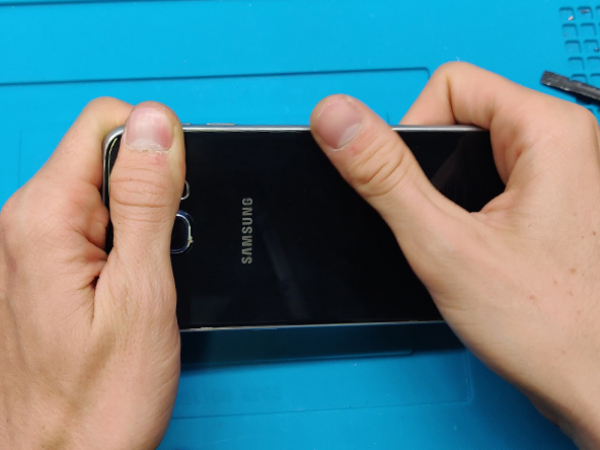
Place down the back glass starting from the top.
Use the camera as guide to help you position the glass properly.
Once you are satisfied with the placement of the glass cover, press the cover with your fingers all around the edges.
Turn on the phone and enjoy better battery life on your phone.